So, to begin with, you can take a look on the central one at the picture below to have an idea of how the original came to us. The mass graves from the Battle of Visby present us with a really huge number of coats of plates from the mid 14th century and is a main source of inspiration for armourers and enthusiasts and I always wanted to make the armor number 24, which is by far the most complicated of the graveyard.

Using the book as a starting point, I scaled the diagram of the armor #24 to fit me. You can take a look on the tracings below:

If you pay close attention to the tracings above you can notice that it is not perfectly symmetrical and so I just removed about 6-8 plates from the original.
So, with the measures done I only had to begin the armor. The first step was to draw the rectangular plates on a sheet of steel. In this case, mild steel was used.

The metal is only 0,5mm thick, but as it has a lot of overlapping, the average thickness of each row of plates is about 0,9mm. But there is also overlapping from each row, as well as the washers (0,5mm thick steel) and the leather itself. So it is surprisingly resistant.
The good thing with thin plates is that it is easier to cut them with a good pair of scissors.


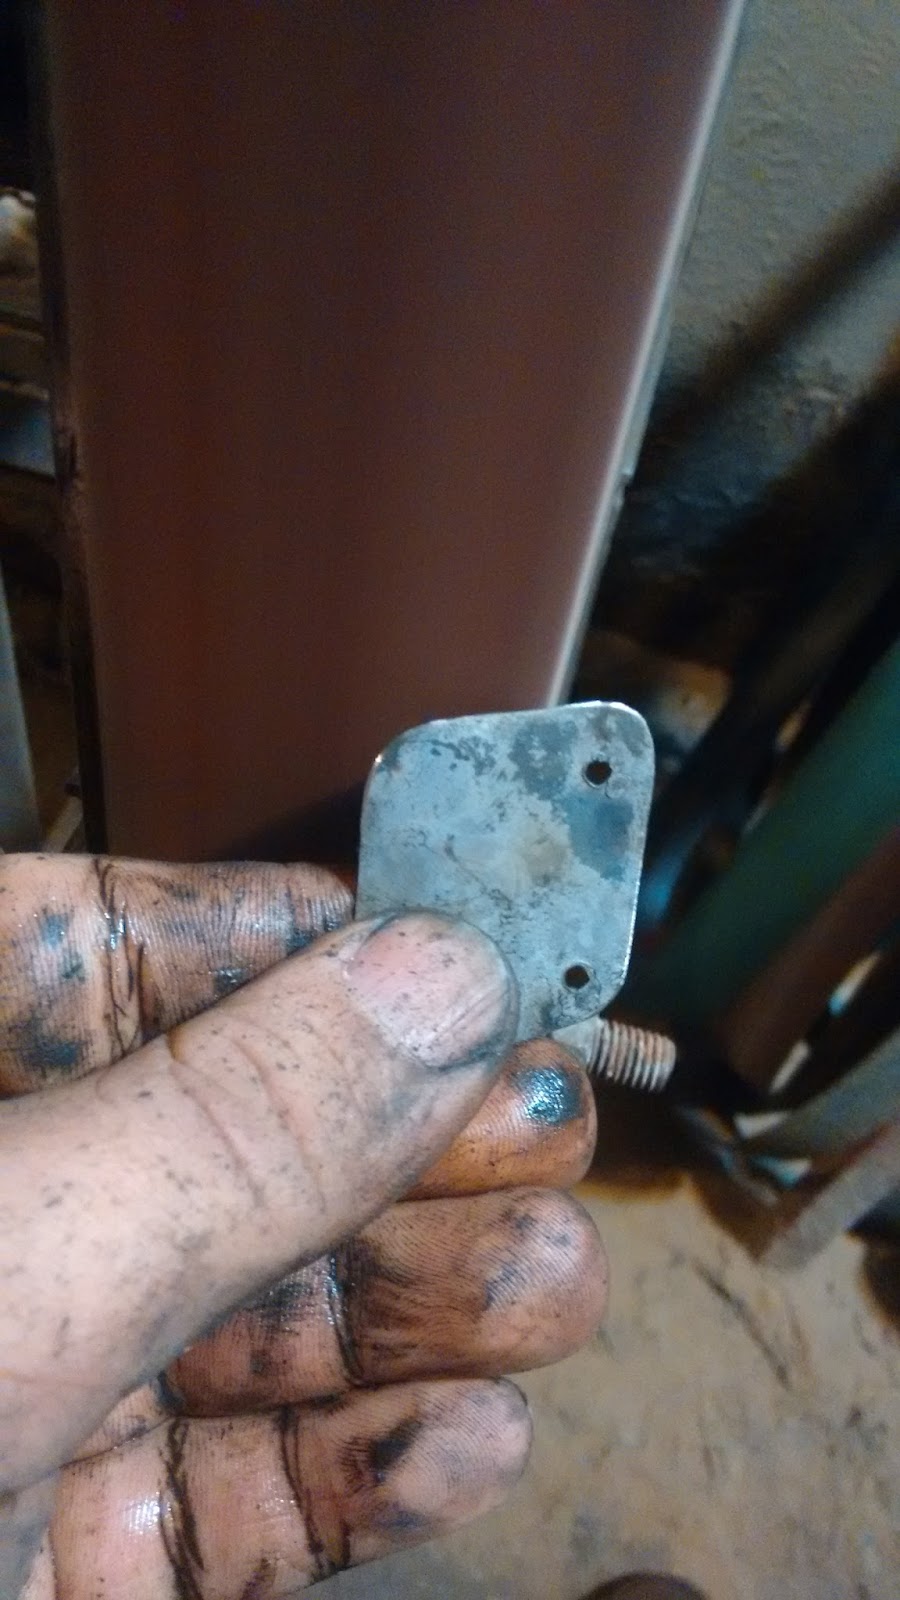
As you can see, after cutting, the next step is drilling the holes for the rivets. Here I used a 3mm drill, or 1/8".


So here is where the most labor intensive thing of the process begins. Although it is mild steel it is still hardenable depending on the results you want. So I heat treated each of the 544 plates of the coat. Only the 24 from the shoulders were left unquenched, as they were made from 1,5mm thick sheet mildsteel.
Of course the pieces didn't get all the hardness a higher carbon steel would get and they still bend, but they are much harder even so. the trick here is to heat them above the hardening temperature of "better" steels and quench them in brine. The brine cools the metal much quicker than oil or normal water. I was taught that alcohol could be even better, but for obvious reasons I didn't even try that.

The problem on quenching such a thin plate is that it usually warps. So I had to planish each of the plates with a hammer on the anvil.

The next step, if you want to, is to apply any kind of rust preventive on the plates. But it is you should be sure the plates are clean, because the salt in the brine can get you into some trouble with chemical products.


I used iron rivets on this armor, but I was advised to use aluminium instead. It would save about 400g on the total and would be easier to cut down. Also, they are not so weak as some are lead to think, but I like how the iron looks and reacts when you rivet them and I'm a damn purist sometimes. If it was a piece made for sale, I would certainly offer this possibility to the costumer, but this time I decided to use the old and good iron.

So this is how it looked like when I was riveting the first rows.
And this is how it looked after all the plates were in place.


Sadly I didn't take any photos of the plates for the shoulders, but they are blackened by heating the piece to around 300-350ºC and then applying linseed oil on them. they were made from 1,5mm mildsteel, are not hardened and are slightly bent to make the curve of the armhole.
It holds heavy blows really well and as anything in existence, has some good pros and cons: it is amazingly mobile and the weight is distributed nicely on the body, but it doesn't spread the impact of the blows on larger areas, so it is better with a thicker underpadding. It also covers more area, but you dont have a good coverage between the shoulders and the rerebraces, and it makes it hard to use pauldrons.
But, overall, is an amazing piece of armor and much more comfortable than most I've tried before. So I think it will be used for a long time.
The finished coat of plates weights 7,250kg, has 568 plates, 1200 rivets an 11 buckles.